 Feedback
 E-mail this topic
 Print this topic
| Add Geotagged Photographs |
Feedback
E-mail this topic
Print this topic
|
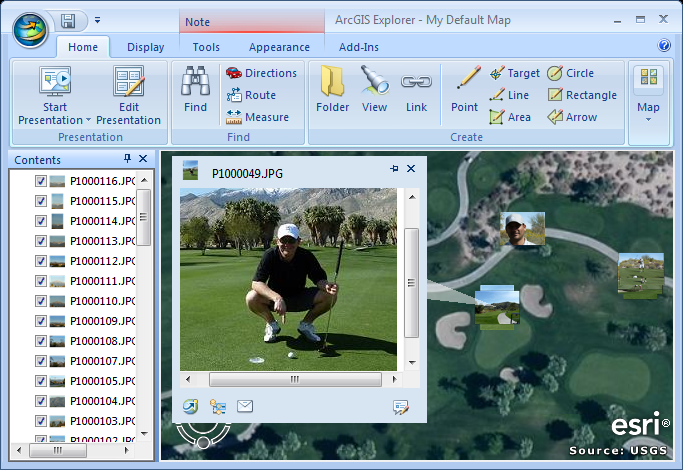
Photographs can be added directly to the map. If the photographs are geotagged they will be added to the map at their tagged location. If the photographs are not geotagged, you can geotag them manually.
On the Home tab, in the Map group, click Add Content ![]() and then click
Geotagged Photographs... you will see a windows file browser that you can use to add photographs. There are a variety of image types to choose from. Selected photographs that
contain geotags will be added directly to the map as point notes.
and then click
Geotagged Photographs... you will see a windows file browser that you can use to add photographs. There are a variety of image types to choose from. Selected photographs that
contain geotags will be added directly to the map as point notes.
If you add photographs that are not geotagged you will be offered an opportunity to geotag them manually. Photographs that are not geotagged will be loaded into a dialog that will allow you to view each photograph and specify the position by clicking on the map.
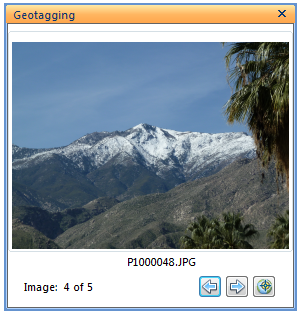
Use the arrow buttons  to view each picture. Use the get position button
  to click on the map and specify the location for the currently shown photograph. The photograph will be geotagged with coordinates from the clicked location.
The popup content for the note will be set to display the photograph automatically. In the HTML for the popup content the width of the photo is set to 600 pixels for all photos greater than 600 pixels in width. You may want to adjust this value by editing the HTML in the popup window to get the desired size or picture quality.
Tip: In 3D view, notes for added photographs are a attached to the surface by default. You can right click on the note and adjust its properties to position the note at its Absolute altitude.