 Feedback
 E-mail this topic
 Print this topic
| Raster Transparent Color |
Feedback
E-mail this topic
Print this topic
|
Sometimes there are homogeneous areas in a raster dataset that you don't want to display. These can include borders, backgrounds, or other data considered to not have valid values. Sometimes these are expressed as NoData values, although at other times they may have real values.
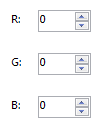
You can designate a specific color in the raster that won't display by using the Set Transparent Color button. First select the raster layer in the Contents window, then in the Transparency group of the Appearance tab on the Ribbon, click the Set Transparent Color tool, and then click on a pixel of the raster layer in the map that you would like to be transparent. Alternatively, you can enter the RGB values for the transparent color in a raster layer's Raster Transparent Color Properties page, provided you know them. Make sure the RGB values you specify match the areas you don't want to display. You may find it easier to use the tool than to enter the values yourself.
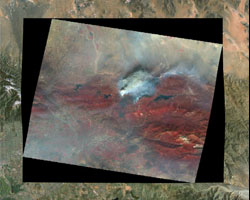
In the example below the image labeled Before displays a local raster file with a black bounding box. Using the Set Transparent Color tool will display the selected color's RGB values in the value boxes in the raster layer's Raster Transparent Color Properties page. You can change the values, and after you click Apply or OK the image displays with the new color changed to be transparent as in the graphic below labeled After. You'll see that the data in the layer below the transparent area of the raster shows through.
 |
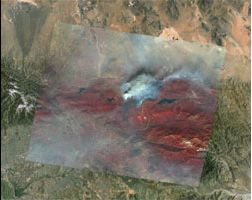 |
| Before | After |
Note This functionality is supported only for raster data that supports RGB or Stretched renderers.