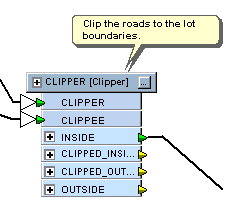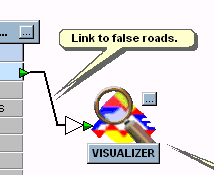

Annotations are useful for documenting the purpose of a feature type, link, or transformer, especially in a large or complex workspace.
Select a feature type, link, or transformer, click the right mouse button and then choose Attach (or Add) Annotation from the command menu.
The default annotation anchors to the selected node. Click twice on the annotation to edit the default text.


If you select exactly one node or link and exactly one annotation, right-click and choose Attach Annotation, the free-standing annotation will attach to the selected node or link.
The default annotation includes the name of the node. For feature links, it will include both the source and destination node information.
Select multiple nodes or links.
Right click, and choose Attach Annotation.
Annotations will be added to all the nodes and links. Nodes will show the node name as default string, and links will show <source node name> to <destination node name> as the default string.
|
Tips:
|
You can also insert "floating" annotations in a workspace
by selecting Annotation from the
Insert menu, or by clicking  . If you want to connect it
later, simply select the annotation, click the right mouse button, and
choose Attach to Feature Type
or Attach to Transformer. You
can also choose to detach any annotation from its source.
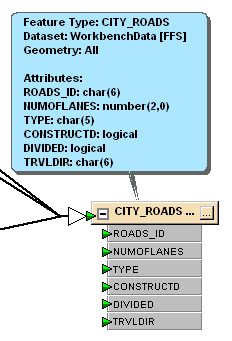
Select a feature type or transformer, right-click and choose Show Summary Annotation from the command menu. An annotation bubble displays detailed information.
|
Tip: This feature is useful when printing workspaces. |

You can toggle the display by choosing Summary Annotations from the View menu.