When you start ArcGIS Explorer for the first time, you'll see that it displays a basemap. The basemap provides context or reference for the content that you add to the map. Esri supplies several basemaps that you can change without affecting the map's additional content. To change the basemap, click Basemap in the Map group of the Home tab, then select a basemap from the Basemap gallery. While the basemaps that Esri supplies in the gallery may be appropriate for most of your work, you may find that you require a basemap that's more specifically tailored to your organization's needs. You can create your own basemap and make it available to others.
To create a basemap
Follow this walkthrough to familiarize yourself with the basic actions required to create a basemap.
- Click the ArcGIS Explorer Button
 .
.
- Click New.
Indicate whether you want to save any changes you've made to the current map.
- Click Basemap in the Map group of the Home tab.
- At the bottom of the gallery, click Clear Basemap.
- In the Map group of the Home tab click Add Content.
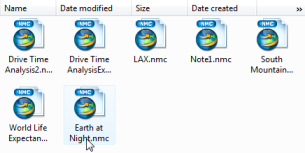
- Select the data type to add. In this example, we'll be choosing a Map Content File (.nmc) that references a layer package. Take care in your choice of content; for example, a globe service cannot be displayed in 2D Display mode. Here we select the Map Content File:

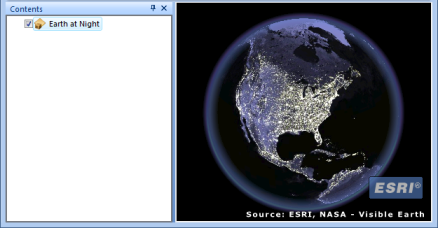
The layer appears in the map display and in the Contents window:

- On the Display tab choose any settings you want to display the basemap with.
- Click the ArcGIS Explorer Button.
- Click Save As > New Basemap.
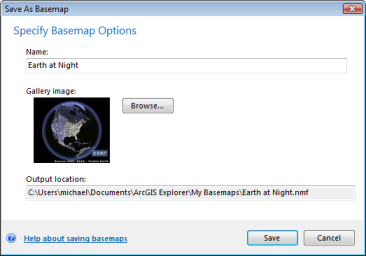
- Specify the basemaps options in the Save As Basemap dialog. Here we've changed the default name to reflect what the basemap represents:

- Click Save.
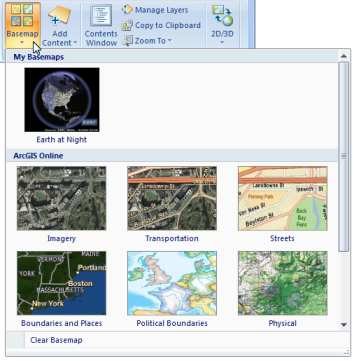
The next time you open the Basemap gallery, you'll see the basemap you created in the My Basemaps group:

 Feedback
 E-mail this topic
 Print this topic
 Feedback
 E-mail this topic
 Print this topic
 .
.


