Note: This topic was updated for 9.3.1.
A historical marker is a named moment in time that you create in ArcMap. Creating historical markers makes it easier for users to connect to specific moments and also easier to navigate between moments for viewing and analysis. Once you have created a historical marker, the marker becomes available within the connection dialog box for Database Connections in ArcCatalog and the Change Version and Geodatabase History Viewer dialog boxes in ArcMap. When selecting a historical marker in any of these dialog boxes, you will connect to the historical version defined by the historical marker.
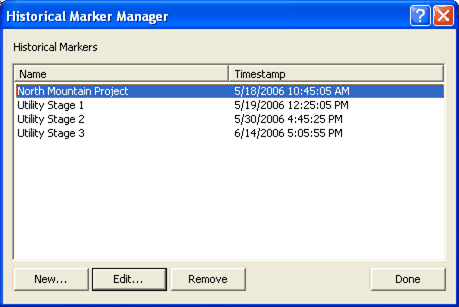
You can create historical markers based on important dates and times by using the Historical Marker Manager command on the Geodatabase History toolbar.
To enable the Historical Marker Manager button on the Geodatabase History toolbar, select a workspace from the Source tab in the table of contents.
The Historical Marker Manager works in a similar manner as the Version Manager. One can view a list of all historical markers that have been created, as well as rename or remove them, and edit the point in time to which they refer. To enable this command, you must have a workspace selected in the Source tab of the table of contents.
Tips on historical markers
All users have privileges to create, modify, and delete historical markers.
The DEFAULT historical marker is a reserved name and cannot be deleted or renamed.
If you delete or rename a historical marker that is currently in use in another ArcMap session, you will lose your data sources in the second session.
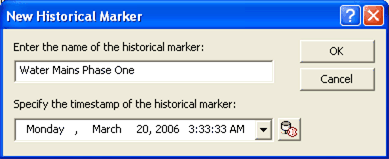
To create a new historical marker, click the New button and specify the name and the time stamp of the marker.
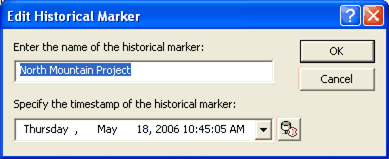
To edit the properties of a historical marker, click the Edit button. You can then change the name and the time stamp associated with the selected historical marker.