ArcPad Toolbar Manager


ArcPad Toolbar Manager |
|
| Release 8 |


|
The ArcPad Toolbar Manager allows you create or modify a toolbar configuration file (eg ArcPad.apx etc.) without the need of ArcPad Studio. To launch the ArcPad Toolbar Manager, go to Start > All Programs > ArcGIS > ArcPad 8.0 > ArcPad Toolbar Manager. When the application starts, it is presented with the following screen:
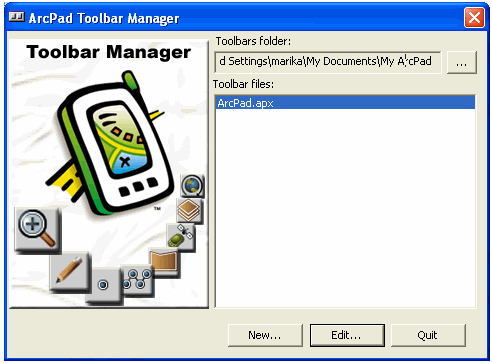
To create a new toolbar file, click on the 'New' button and the following screen appears.
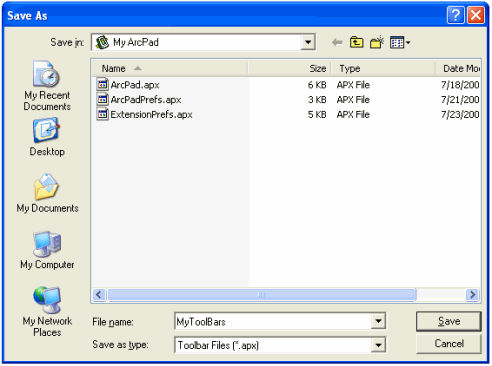
You will be prompted to create a file name for your new toolbar. The default location for toolbar files is My Documents > My ArcPad. The default file name is ArcPad.apx.
Once you click Save, the following window appears.
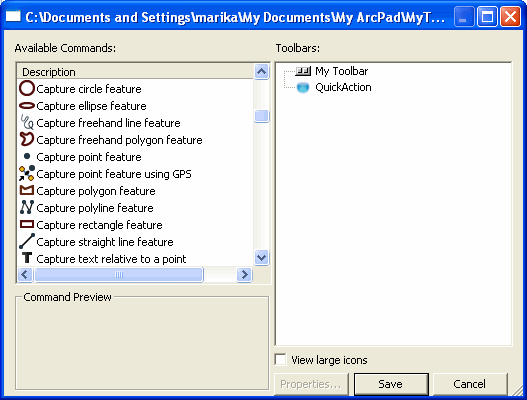
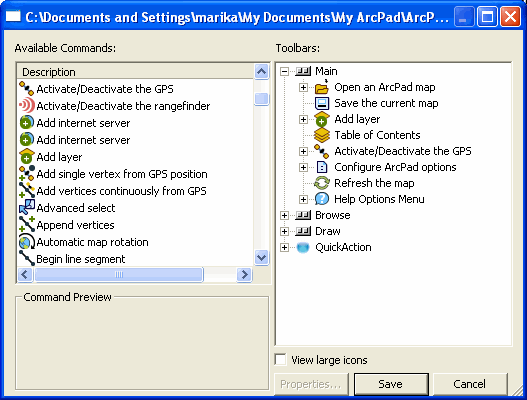
All the available tools are located on the left hand side, and you can build your toolbar(s), submenus and Quick Action button on the right hand side.
The available tools are added by the drag and drop process as described below.
The screenshot below displays the toolbars that are provided in the default ArcPad.apx. You can can use the default ArcPad.apx as your starting point, and remove or add tools as you wish.
The Quick Action button
The Quick Action button in ArcPad can behave as either:
If only one tool is assigned to the Quick Action button, then clicking the button in ArcPad performs the action of that one tool. If you have one action in ArcPad that you perform above all others (say, point capture) assigning this tool to the Quick Action button can make user training easy ("Just click the big ArcPad button")
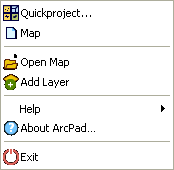
If more than one tool is assigned to the Quick Action button, then clicking the button in ArcPad displays a menu. The default ArcPad.apx has a number of tools assigned to the Quick Action button, so that when you click the Quick Action button, you will see the following:
