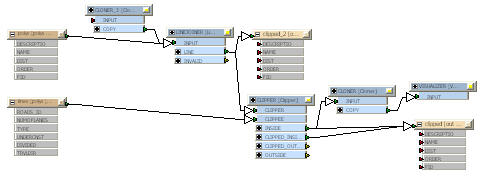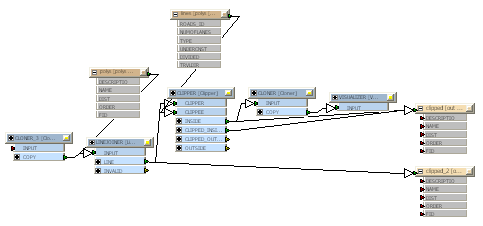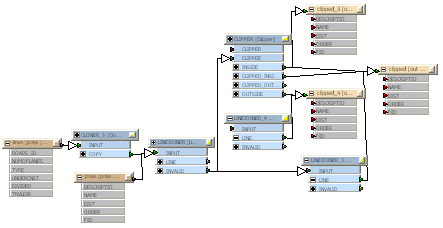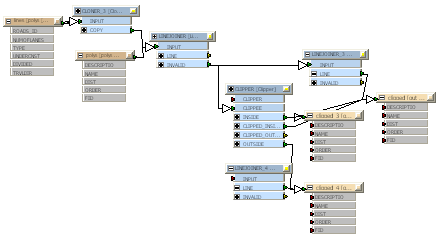
Select Auto Layout from the Tools menu.
NOTE: If you have existing annotations associated with any parts of your workspace, you should attach them to their source; otherwise, they will move to a different area of the canvas.
Layout Type
These are preset layout configurations that can be useful if you have a very large workspace. You might have to experiment to see which one works best for your particular workspace. You can choose one of these selections and leave the default values in the fields below, or adjust the values below to fine-tune the layout.
Simple: Chooses a basic layout and greys out horizontal and vertical layout options.
Compact: Compacts the workspace.
Spaced-Out: Spreads out the workspace.


Horizontal Layout
If you choose Squeeze Left or Squeeze right, it will squeeze nodes to either side if there is extra blank space in the view. Choosing Neither means that the nodes will be spread out.
Vertical Layout
If you choose Squeeze Up or Squeeze Down, it will squeeze nodes to the top or bottom if there is extra blank space in the view. Choosing Neither means that the nodes will be spread out.


Horizontal and Vertical Spacing
The spacing is the minimum space between adjacent nodes, so even if you have Squeezing enabled, you can specify a lot of space between nodes. The squeeze parameters are really to specify where to place nodes if there is extra blank space in the workspace.
Line up sources and Line up destinations
These checkboxes determine whether the source or destination feature types should be lined up, on their own, at the left or right of the diagram. If they aren't set, the source/destination feature types may be moved into the center of the diagram with the transformers.

Layout selected items only
Choose to auto-layout only what you have selected in the workspace.
Insert extra link vertices
Allows you to route links and place nodes around attached comments using the Insert Vertex on Link command.