Here is a step-by-step description of the workflow for creating and editing slides.
To create slides
Step 1: Open the presentation tab
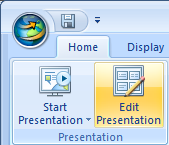
On the Home tab, in the Presentation group, click Edit Presentation:
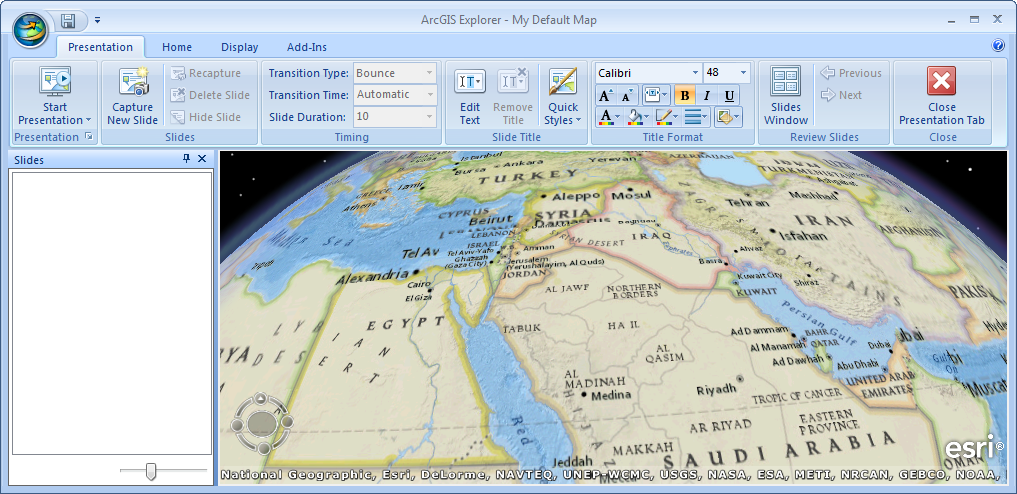
You'll see the Presentation tab:
Step 2: Arrange and prepare the map to display the content you want
You can adjust the viewpoint, turn items in the Contents window on or off, add notes, image overlays, etc.
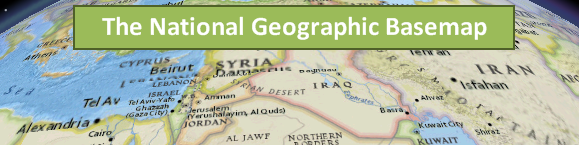
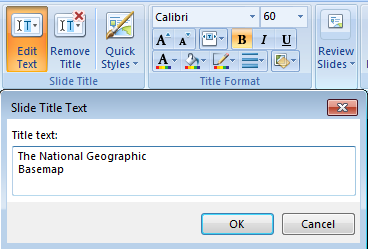
Step 3: Create a slide title
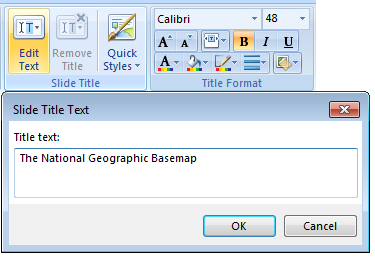
On the Presentation tab, in the Slides group, click Edit Text:
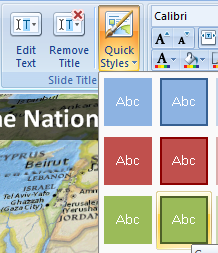
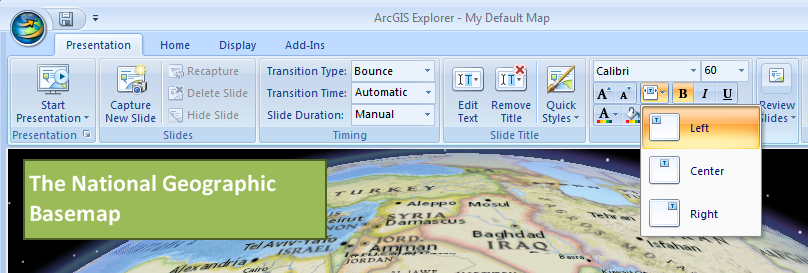
Step 4: Adjust the title
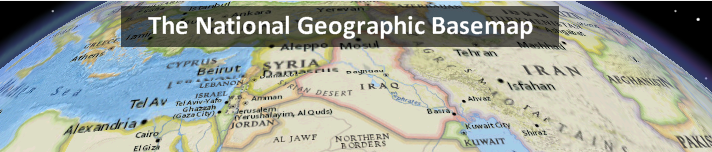
Using the Quick Styles gallery and/or the various controls in the Presentation tab's Title Format group, you can modify the format of the slide to be captured:
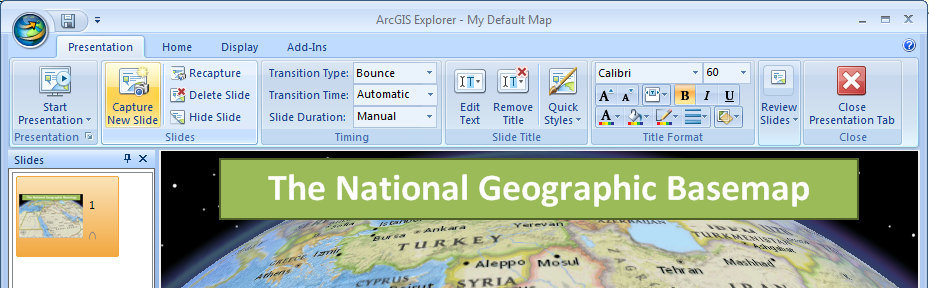
Step 5: Capture the slide
On the Presentation tab, in the Slides group, click Capture New Slide. ArcGIS Explorer adds the slide to the Slides window, positioned after the selected slide, if one exists:
To create the next slide, repeat steps 1 through 5. If you don’t want a subsequent slide to have a title, on the Presentation tab, in the Slide Title group, click Remove Title to remove the title from the display before capturing it.
Top of Page
To edit slides
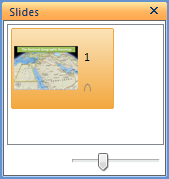
Step 1: Select the slide
In the Slides window, click on the the slide you want to edit. This selects the slide.
Step 2: Adjust the slide title or remove it if desired
Step 3: Arrange and prepare the map to display the content you want
In the same way you created the slide originally, adjust the viewpoint, turn items in the Contents window on or off, add notes, image overlays, etc.
Step 4: Recapture the Slide
On the Presentation tab, in the Slides group, click Recapture Slide:
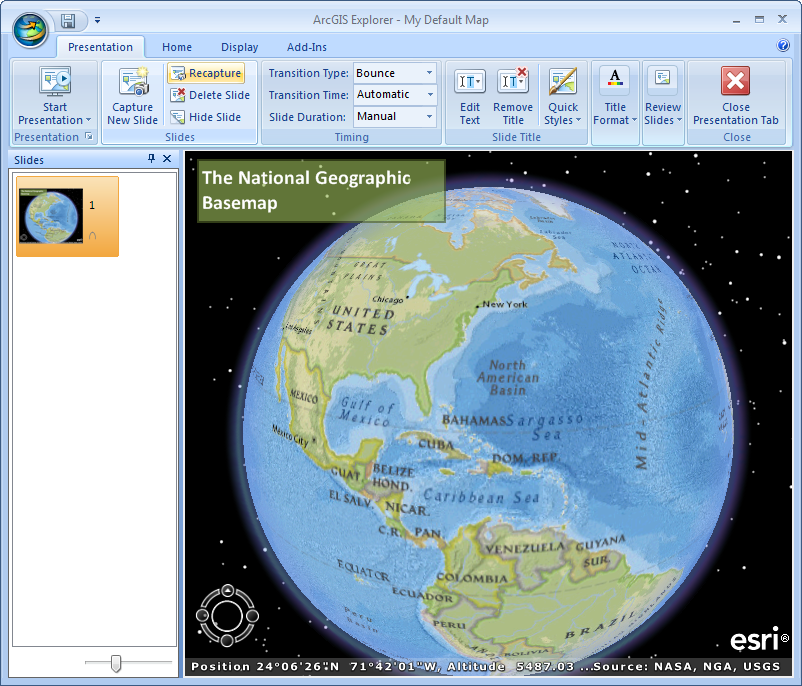
The content of the slide you are editing is replaced in the Presentation by the new content, title, etc.
Top of Page
 Feedback
 E-mail this topic
 Print this topic